
Being Geek Chic is a blog about one woman navigating the male-dominated industries of production and tech. It's written by Elizabeth Giorgi, Founder, CEO and Director of Mighteor - one of the world's first internet video production companies. Learn more about Mighteor here.
![]()
![]()
![]()
![]()
![]()
I promised more photos from New Orleans. And of course, I don’t want to be called a liar. Should you ever venture through the bayou, you may see some of these things…
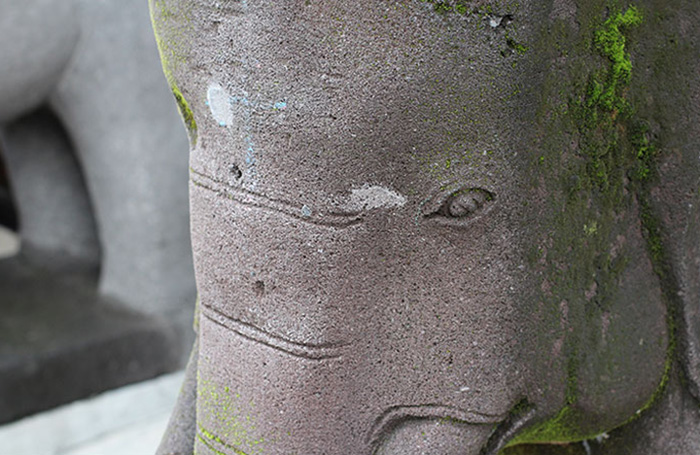
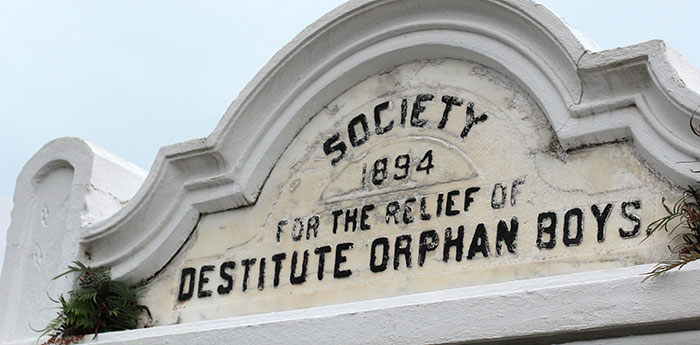
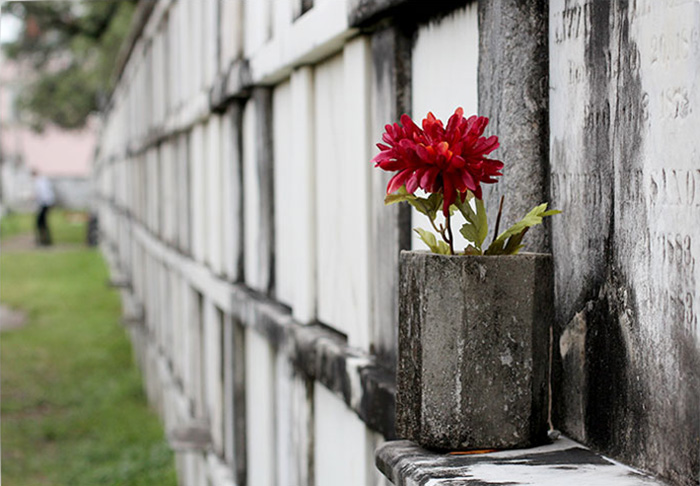
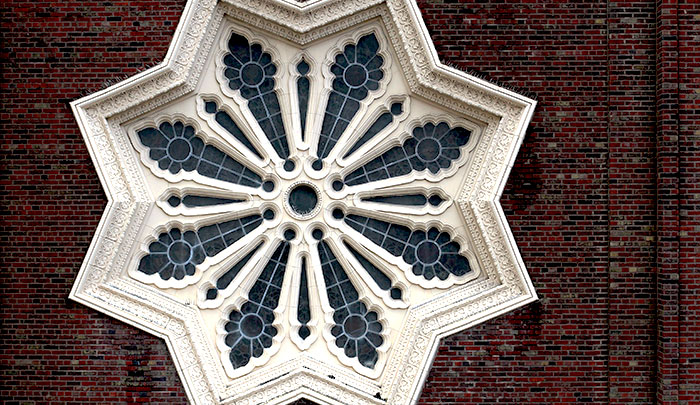
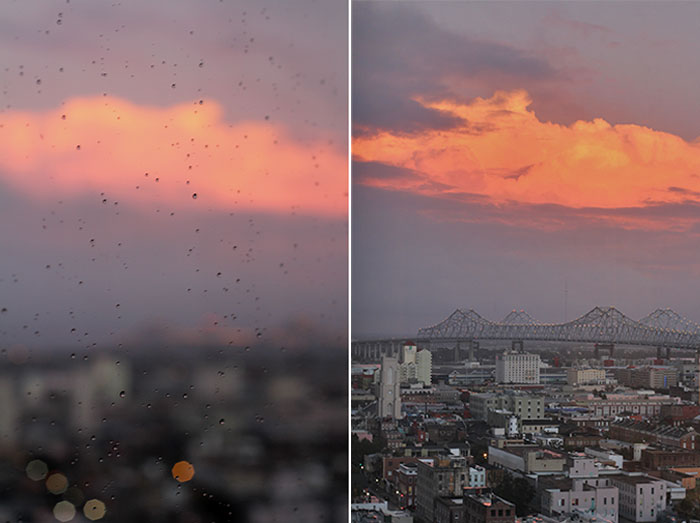
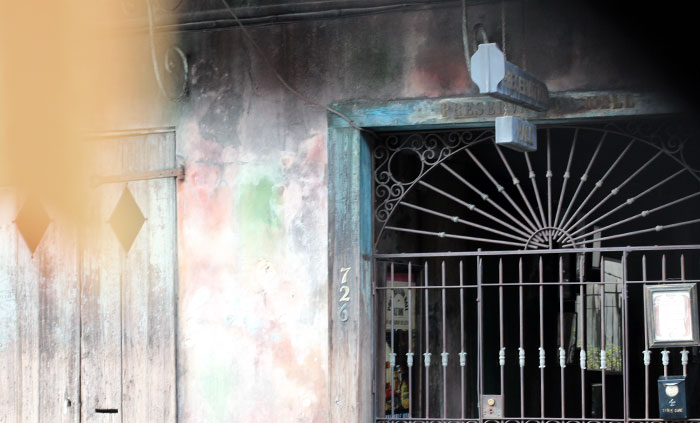
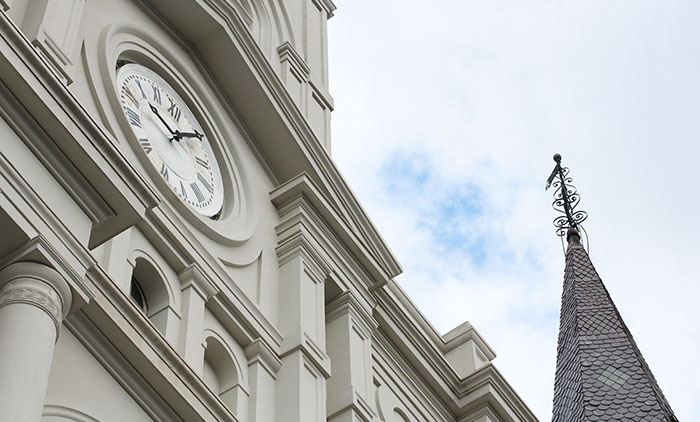
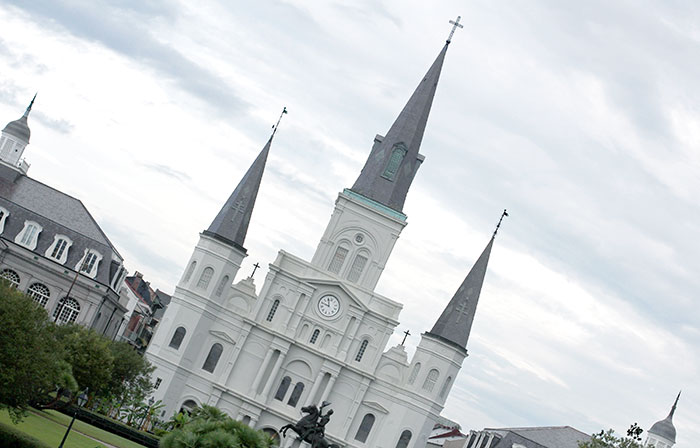
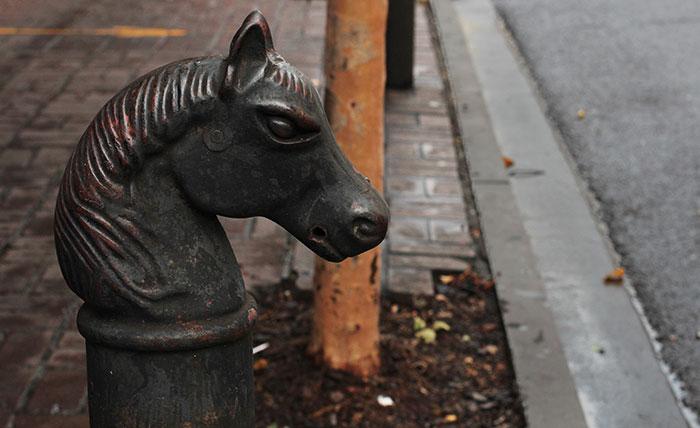
In closing: visit the Garden District. It was easily my favorite part.
I recently found myself swooning over Bloom Theory’s Camera Straps and one or two managed to find their way to my Pinterest. When I took a close look at them, I realized I could easily DIY the $130 strap for much less - so that’s exactly what I did.
Here’s the best part.
Here’s how I did it:
1. Start with a simple canvas or cotton camera strap. You don’t want anything too thick, because you’re going to hand-sew or machine sew some sequin ribbon onto the strap later. In other words, choose a material that isn’t too tough. I bought this strap for $9.99 on eBay. (Here’s a link to that strap.) There are all kinds of options out there - so shop around.
2. Next, find some sequin ribbon. I bought mine at my local JoAnn Fabric store, but a Google search pulls up a bunch of other options. For those of you who want to go to the store and buy the exact same thing, it’s called: Sequin Stretch Ruffle Trim - 3 inch. I bought one yard.
3. All you have to do now is hand sew or machine sew the ruffle trim to the strap. Be sure to secure it by back-stitching or double knotting the ends.
Attach to your camera and enjoy!
(P to the S: do you like this DIY? Then subscribe to my YouTube channel where this DIY and more are captured in video form. No junk. No vlogs. Just high quality nerd crafting.)
You Need:
Camera strap
Scissors
Thread
Sewing Machine or Needle
Sequin Trim
20 minutes
Total cost: $12
In college, I took a lot of photography classes and loved everything about it. Life and work gets in the way and over the last five years I’ve been so focused on video that I’d stopped taking photos just to take photos. Honestly, the best pictures come out of those types of moments. This summer, I promised myself that I would get back into photography. And that I would shoot on Manual. Partially because I want to take better photos for this blog, but also because a series of photos memorializes life at its best.
This is my summer so far -
I have to tell you about this.
It’s so not regularly scheduled programming, but sometimes I find things on the internet that make me so happy and I’m so vexed as to why they’re not the biggest internet/social media/twitter influencer/tech blogger obsession ever, that I just need to yammer on and write a run on sentence about it.
Get to it already, alright.
You love instagram. You love photostrips. You’d love to have your instagram photos in photostrip form. After Google ninja'ing like that’s an actual skill you might find something… Holy PB&J there’s a thing for this perfect marriage on the interwebs and its’ called Boothgram.
It’s from the mind of Lori Lee, a developer genius in San Fran.
Alright, that’s your public service announcement of the day from me. I’ve already managed to come up with all kinds of strips which I will eagerly print and obnoxiously flail at people - so now it’s your turn.
If you follow me on instagram (I’m @lizgiorgi!) you know that I’m a bit obsessed. It’s great to capture the smallest of moments alongside the biggest. Plus, it’s all just so beautiful.
Well, when I wrote about different instagram art options for your home, I realized that there was one really basic product that was missing: a cheap canvas option that you could hang in a cubicle or stand up in a set on a desk.
So, I decided to try and make it. They turned out super cute and the best part is that each one costs about $1.13 to make.
Here’s how I did it.
1. Save two photos from your instagram account on your computer. Use a photo editing software or service to create a 4x6 photo canvas. Then, position two instagram prints next to each other at 3x3 inches each. You will have a 1 inch blank area on the bottom of the print, but that’s OK, because in order for this project to be cost effective, you need to get two prints on each sheet of photo paper.
2. Print the photo at home. Take it to the store and print it at a Kiosk. Send it to Shutterfly. Whatever you want! Just get it printed. It cost me 25 cents to make that print at Target, making each photo about 13 cents.
3. Cut the photos. Use a straight edge or photo cutter (like this one) to separate the two photos.
4. Now, grab your 3 inch by 3 inch canvases. Using a photo mount spray glue (not Elmer’s, not tacky, not stick, not super - PHOTO MOUNT ONLY!) spray a thin layer of glue on the canvas from about 6 inches away. I recommend doing this outside, because it’s sticky and gets everywhere.
5. Once dry, trim any of the stray edges to clean up the overall look. Allow the glue to dry overnight before displaying or hanging.
You need:
Two instagram prints
Photo editing software
Photo paper or a place to print photos
Straight edge like a ruler
X-ACTO Knife
Photo Mount Spray (A note on this: yes, it’s expensive. But I recommend waiting for a 50% or 60% off coupon from Michael’s or Joann and buying it then. It will cost you $7-$8 that way and it lasts FOREVER. I have had the same bottle for 2 years and I’ve done about 20 different projects with it.)
Total cost: $1.13 each. I bought my canvas individually, but I could only find the 6 pack online. Either way, you should be able to find them for about $1 a piece at JoAnn Fabric and Michael’s Craft stores.